Add a Recurring Payment
Prior to setting up a recurring payment you'll need to have a contact record created and an account stored to run payments against.
Required features: Account Vault & Recurrings
-
Go to the contact's Overview and under Recurring Billings select Add Recurring

-
Enter Description (if applicable)
Select Stored Account*
Transaction Amount* (the amount you want the contact to be charged for each payment)
Select Tags (if applicable)
Notification Days – The # of days before payment processing that the contact will be notified via email (0 = no notification)
3. Select
- Payment Type
Repeating
One Time - Payment Start Date
Select the date you want the Trx to start running - Process Every
Frequency = # of times the card will be charged (typically 1) and then choose Days, Weeks, or Months (typically months) - Recurring End
No End (ongoing)
After __ Payments - # of payments that you want the merchant to be charged (this will auto-populate the Trx End Date and the Total Amount that will be collected at the end of the recurring transaction).

4. Select Save.
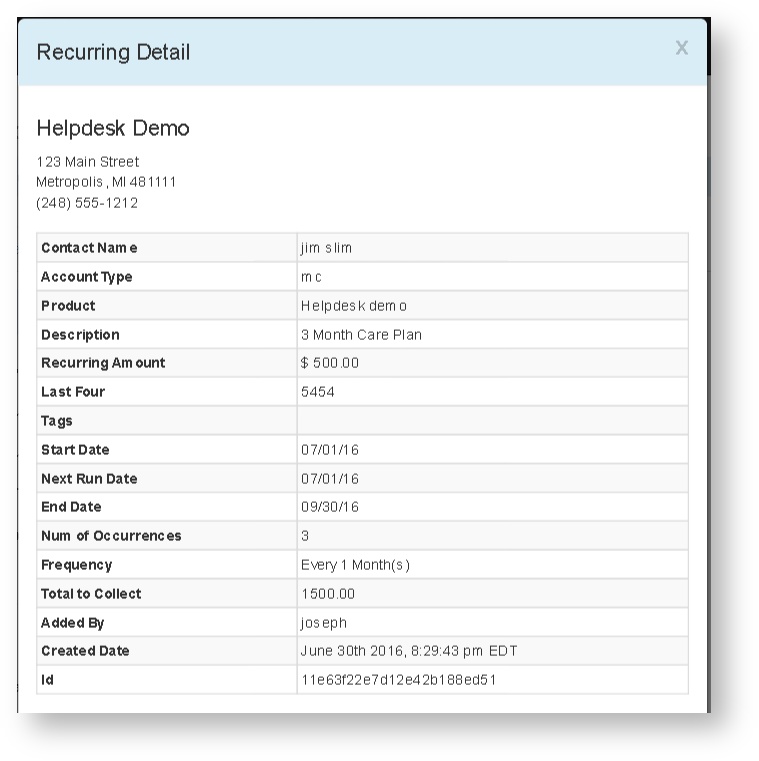
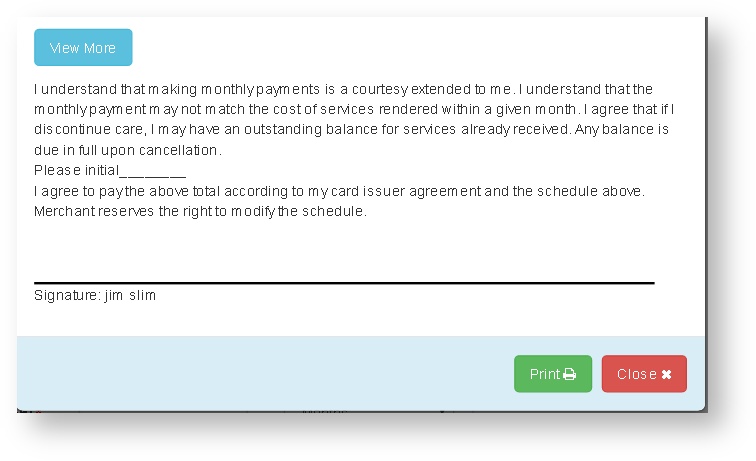
5. After saving, a receipt screen will display where:
- You will see all the info you need
- Have the cardholder sign
- You'll be able to print the receipt


The system allows you to have as many recurrings set up as you want. You can set up multiple recurrings to accommodate scenarios such as:
Running on the 1st and 15th every month
- Set up two recurrings: one that runs once a month on the 1st and one that runs once a month on the 15th
Tiered pricing scenarios
- Set up two recurrings: Each should have the appropriate start date, dollar amount, interval, and stop after x payments set. For example, a customer signs up for a service with tiered pricing to begin January 1st and end after 6 months where the pricing for the last three services is reduced. Setup the first recurring to begin Jan. 1st running every 1 months to end after 3 payments at $100. Setup the second recurring to begin April 1st running every 1 months to end after 3 payments at $50.